Adding product images and galleries
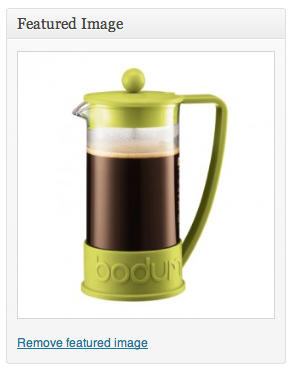
The featured image
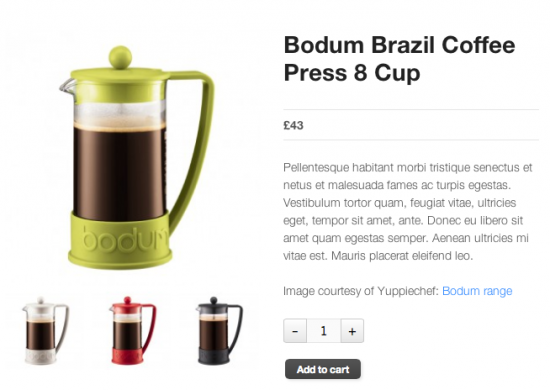
The featured post image is the main image for your product. It is the image which will be displayed within your product loops (IE on product categories, up sells, related products etc) and the initial focus of the image gallery on your product details page.

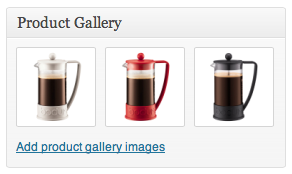
Adding product galleries
Product galleries simply display all images attached to a product, with the Featured Image being the primary image.
You can create a product gallery using the same method as adding a featured image, rather using the Product Gallery meta box instead.
Re-order and removing images from product galleries
Images in the product gallery can be re-ordered easily via drag and drop. Simply re-order your images by moving them around.
To remove an image from the product gallery, hover over the image and click on the red “x”.
Image dimension settings
On the catalog tab, WP Dashboard -> WooCommerce -> Settings -> Catalog, of the WooCommerce settings you’ll see three image dimension inputs.
- Catalog Images appear on your shop loops. Product categories, up sells / cross sells etc
- Single Product Image is the main image on your product details page
- Product thumbnails are the gallery thumbnails on your product details page (if you have a gallery)
The images you upload will be resized to match the values your input here accurately as possible. IE if your settings are 100×100 and you upload a 300×600 image it will be resized to 100×200. You can also choose to ‘hard crop’ your images which will force them to be the size specified in these settings, regardless of the raw image you upload, but will be cropped rather than distorted in scale.
Remember if you change these settings after uploading product imagery you will need to regenerate your thumbnails within WordPress for the changes to be applied to your current imagery.
– See more at: https://www.jamescarterweb.com/adding-product-images-and-galleries/#sthash.q2yurOqx.dpuf


